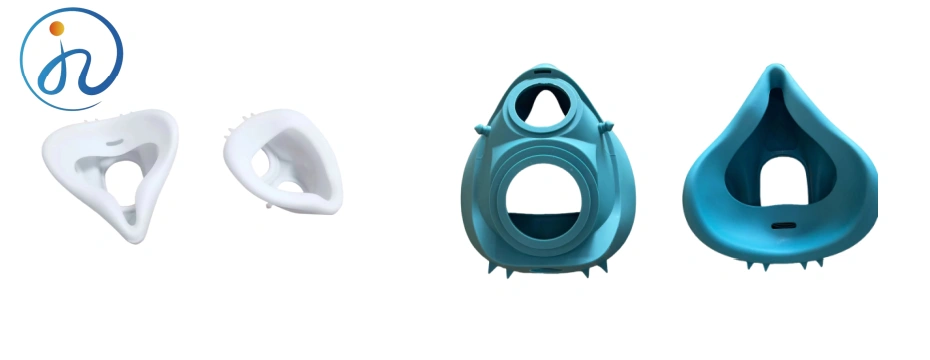
Prototyping is an essential phase in product development. It bridges the gap between concept and creation, allowing you to bring your ideas to life, test them, and refine them before mass production. Whether you’re an entrepreneur, designer, or engineer, creating an effective prototype is a vital skill. Here’s a guide to help you create a successful product prototype.
1. Clearly Define Your Goals
Before diving into the design, establish what you want to achieve with your Product Prototype. Is it to test functionality, validate design, or present to investors? Setting clear objectives will shape your prototype’s design and determine the resources you’ll need.
Questions to consider:
- What are the essential features?
- Is this for testing or showcasing?
- Who is the target audience for this prototype?
Understanding the answers to these questions will streamline your process and ensure you’re building something aligned with your immediate needs.
2. Start with a Conceptual Sketch
Before touching any software or materials, sketch your idea. Hand-drawing your concept allows you to brainstorm visually and refine your idea. It’s much easier (and cheaper) to erase and tweak a drawing than to revise a physical Product Prototype.
Tips:
- Include dimensions, materials, and components.
- Add notes explaining key functions and features.
- Consider creating multiple versions with small variations.
3. Create a Digital Model
Once you have a solid sketch, convert it into a digital format using CAD (Computer-Aided Design) software. Programs like Fusion 360, SketchUp, or AutoCAD allow you to create 3D models of your product.
Why a digital model matters:
- Provides precise measurements and detailed visuals.
- Helps identify potential design flaws before production.
- Easily adjustable for iterations.
4. Choose the Right Materials
Material selection depends on the purpose of your prototype. If you’re building a functional prototype, you might need materials that reflect the final product’s durability. For concept Product Prototypes, cheaper alternatives like foam, cardboard, or 3D-printed plastic might suffice.
Prototyping material options:
- 3D printing: Great for quick, inexpensive parts.
- CNC machining: Ideal for metal or wood components.
- Foam/Clay: Suitable for rough, visual models.
- Cardboard: Excellent for low-fidelity prototypes, especially for packaging or spatial layout testing.
5. Embrace 3D Printing
3D printing has revolutionized prototyping by making it fast and affordable to create detailed physical models. Whether you’re testing ergonomic designs or checking dimensions, 3D printers can quickly fabricate prototypes directly from your CAD files.
Benefits of 3D printing:
- Rapid turnaround: Prototypes in hours, not weeks.
- Cost-effective for small quantities.
- Allows for detailed, intricate designs that are difficult to achieve with traditional methods.
6. Build a Minimum Viable Prototype (MVP)
Resist the temptation to include every feature in your initial prototype. Focus on creating a Minimum Viable Prototype (MVP)—a version with just enough functionality to gather feedback or validate your concept. This strategy saves time and money while still allowing you to test the core functionality.
Key features of an MVP:
- Core functionalities only.
- Rough around the edges is okay.
- Simplifies decision-making and iteration.
7. Test, Refine, Repeat
Once your Product Prototype is complete, begin testing it in real-world scenarios. Gather feedback from users, stakeholders, and team members. Identify what works, what doesn’t, and where improvements are needed.
Testing checklist:
- Functionality: Does it work as intended?
- Usability: Is it easy to use?
- Aesthetics: Does it look and feel like the final product?
- Durability: Will it last through typical use conditions?
Each round of testing provides valuable insights that inform the next iteration of your prototype. Don’t be afraid to go back to the drawing board.
8. Collaborate with Experts
Depending on your prototype’s complexity, you may need help from specialists like industrial designers, engineers, or manufacturers. Their expertise can prevent costly mistakes and help optimize your design for production.
Ways experts can help:
- Engineers can ensure mechanical and electrical systems are viable.
- Industrial designers focus on the look, feel, and user experience.
- Manufacturers help you understand production constraints.
9. Keep Costs in Check
Prototyping can become expensive if not managed properly. Use cost-effective methods and materials during the early stages and only invest in high-fidelity prototypes when absolutely necessary.
Cost-saving tips:
- Opt for cheaper materials for early iterations.
- Use modular design to avoid rebuilding the entire prototype with each iteration.
- Leverage crowdfunding or grants for prototyping costs, especially if you’re showcasing to investors or seeking funding.
10. Document Everything
Throughout the prototyping process, document each version, including changes and feedback. This documentation is essential for learning, especially if you need to revisit ideas or explain decisions to others.
What to document:
- Sketches and design drafts.
- Materials used and their sources.
- Test results and user feedback.
- Changes made after each iteration.